


fufufafa
- African Tribal Mythology
- March 5, 2023
- 51 views
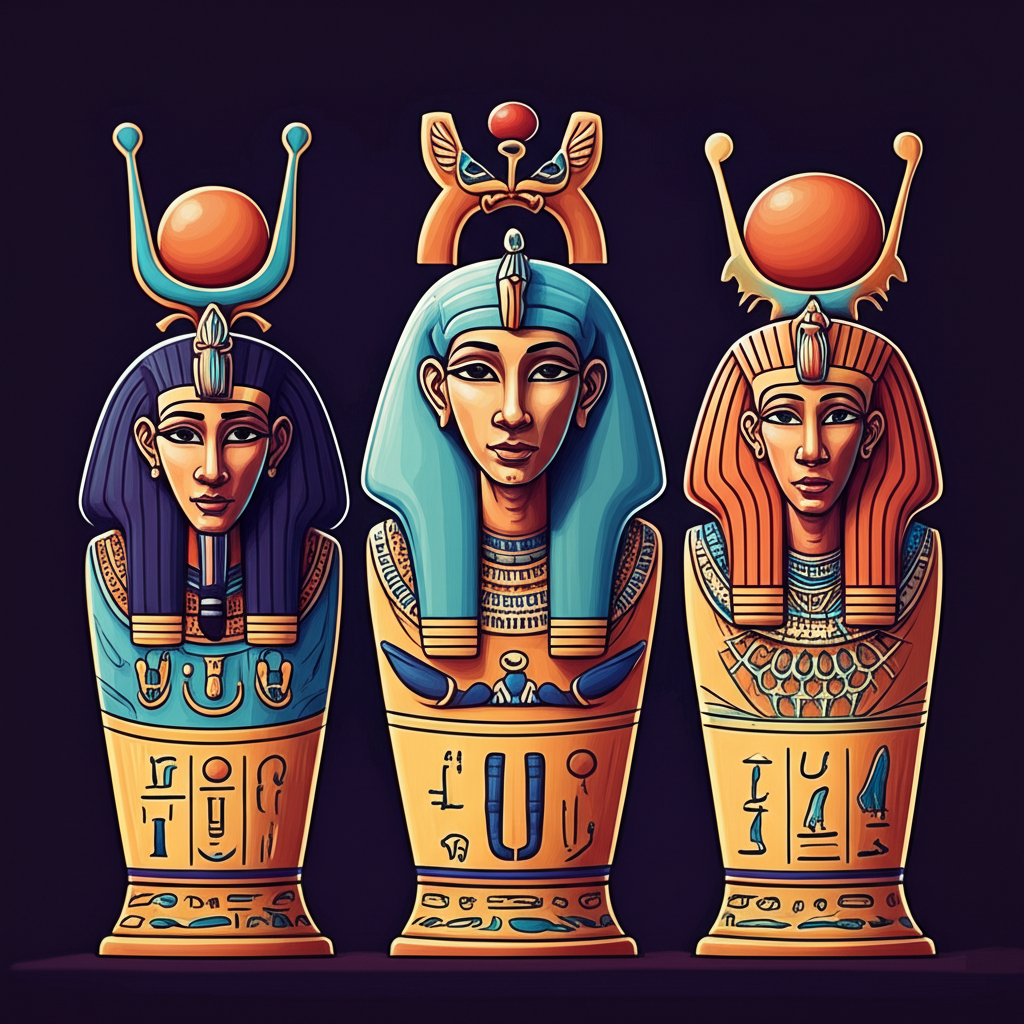
The Chronicle of Nyame and the Hidden Temple: Echoes of Akan Cosmology
The vibrant tapestry of West African folklore is rich with tales that illuminate the worldview of its people, offering insights into their understanding of creation, the natural world, and the…
- Celtic Mythology
- March 4, 2023
- 50 views
The Cauldron of Plenty, and the Whispers of a Curse: A Glimpse into Ancient Irish Lore
The mists of ancient Ireland, shrouded in time and legend, carry echoes of a vibrant and imaginative past. It is within this rich tapestry of folklore that we encounter tales…
- Chinese Mythology
- March 4, 2023
- 46 views
The Chronicle of Nuwa and the Hidden Sea: Echoes of Creation in Ancient Lore
In the vast tapestry of human storytelling, certain threads weave through millennia, carrying echoes of our ancestors’ attempts to comprehend the world around them. Among these enduring narratives are the…
- Greek Mythology
- March 4, 2023
- 48 views
The Judgment of Paris: Echoes from the River Styx
The tapestry of human civilization is woven with threads of myth and legend, stories passed down through generations that offer glimpses into the minds and hearts of our ancestors. Among…
- Hindu and Vedic Mythology
- March 4, 2023
- 52 views
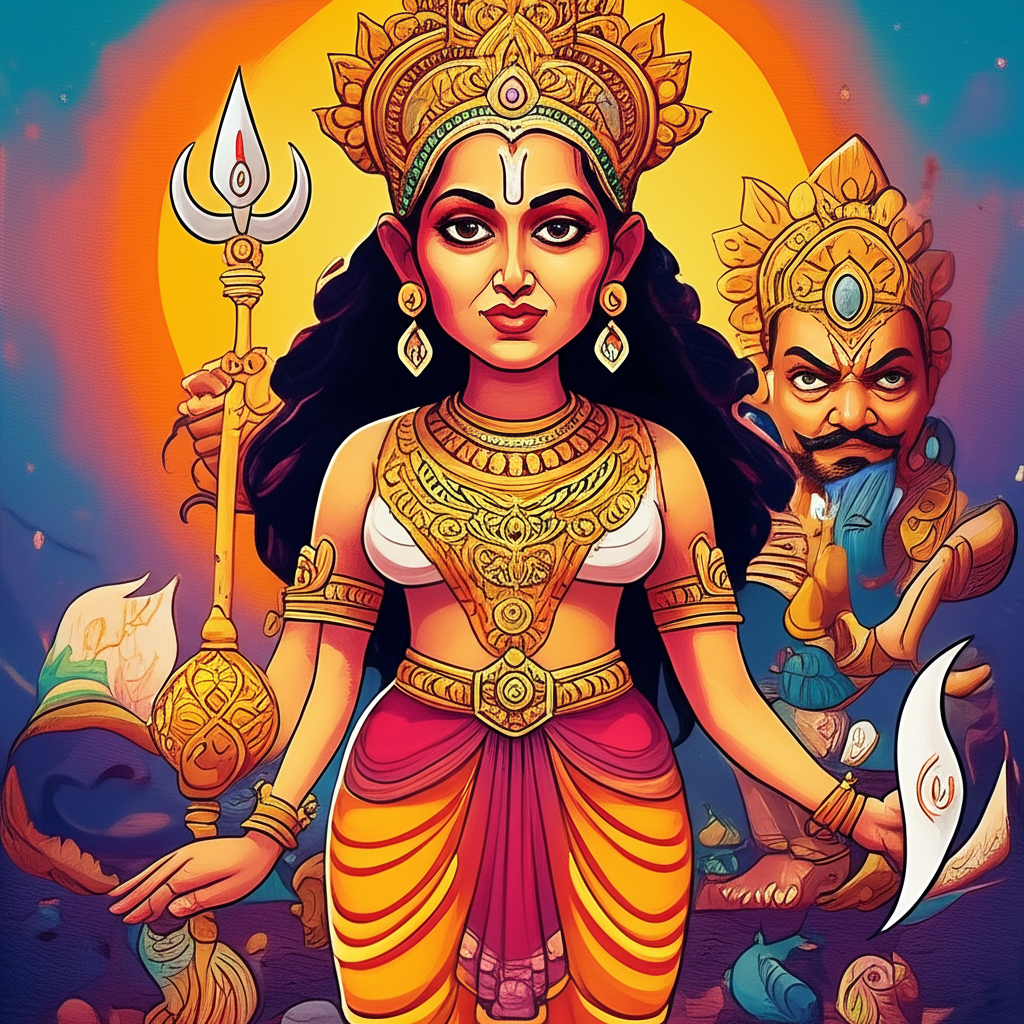
Encounter with the Rakshasa of Mathura: A Journey into Ancient Indian Folklore
This article explores a fascinating narrative from ancient Indian mythology, specifically focusing on the concept of a ‘Rakshasa of Mathura.’ It is crucial to understand from the outset that this…
- Indonesian and Nusantara Folklore
- March 4, 2023
- 60 views
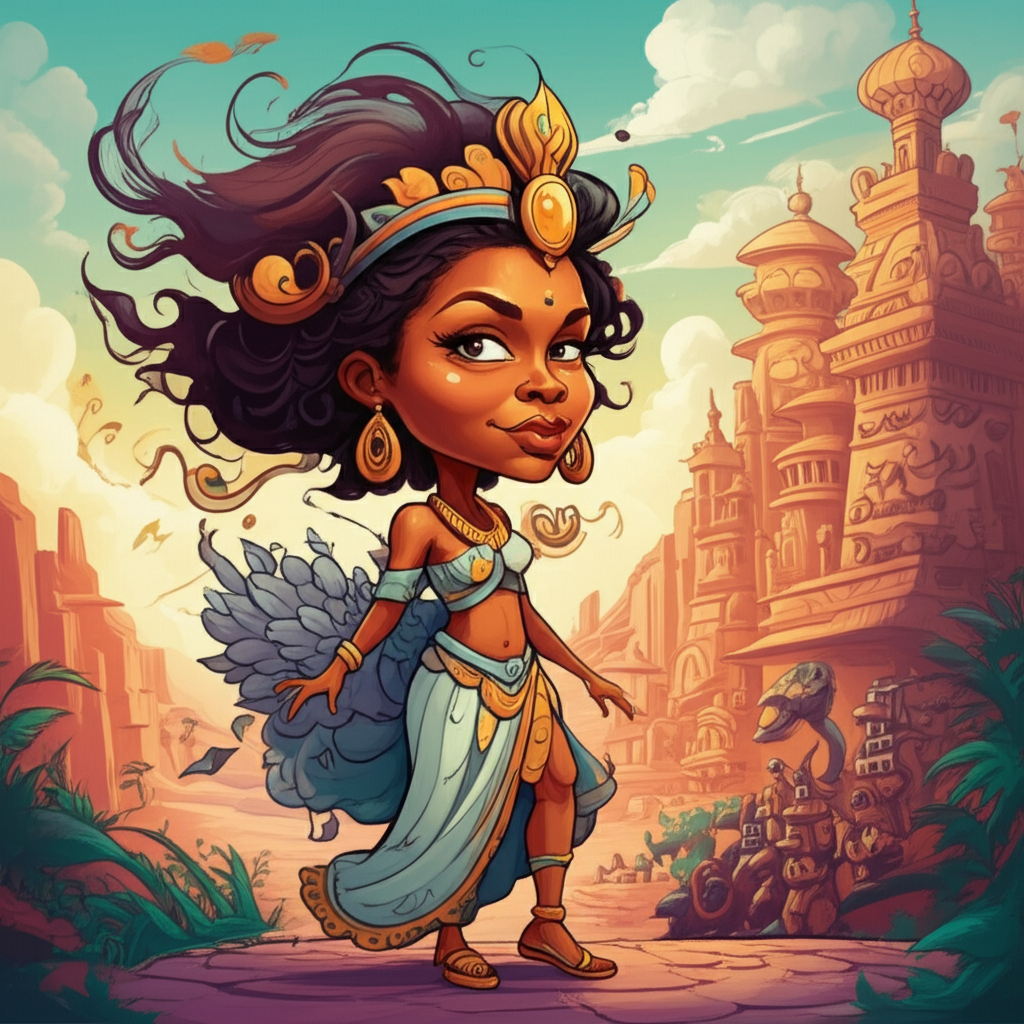
The Verdant Sentinel of Tangkuban Perahu: An Encounter with Buto Ijo
The Indonesian archipelago, a tapestry woven with vibrant cultures and ancient traditions, is a fertile ground for myths and legends that have shaped the worldview of its people for centuries.…
- Norse Mythology
- March 3, 2023
- 54 views
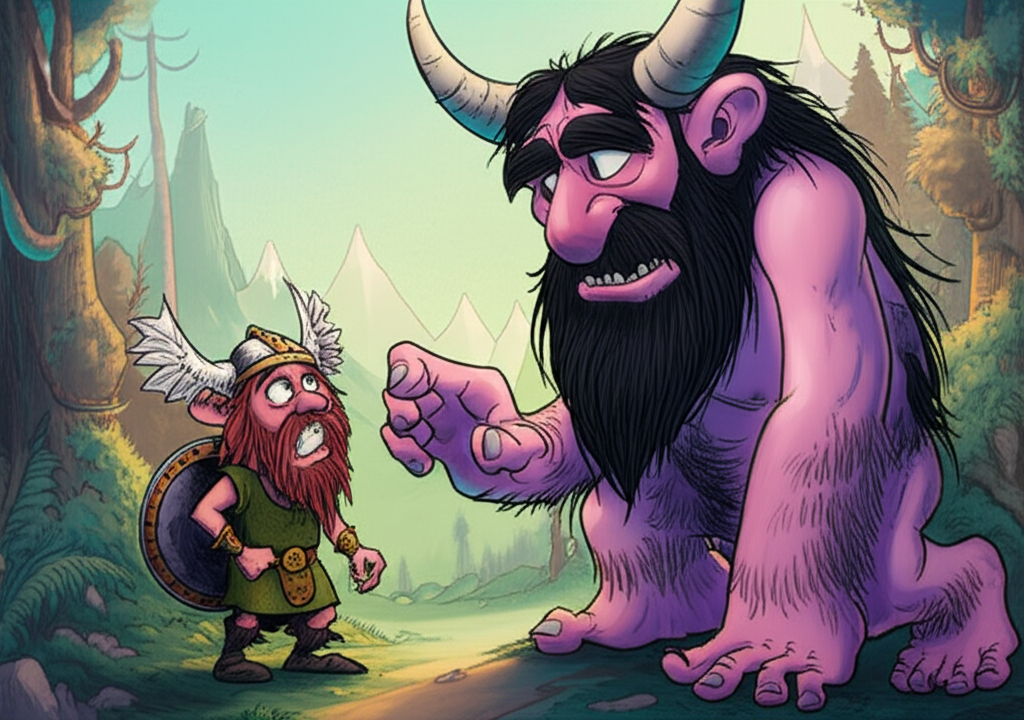
Bragi and the Trial of the Mead of Poetry: A Journey into Norse Mythology
The sagas and Eddas of ancient Scandinavia are replete with tales of gods, giants, dwarves, and heroes, each story a vibrant thread woven into the rich tapestry of a bygone…
- Polynesian and Pacific Island Mythology
- March 2, 2023
- 52 views
Echoes of Kanaloa: Whispers of the Mo’o in the Samoan Isles
Across the vast, cerulean expanse of the Pacific, where volcanic peaks pierce the clouds and emerald islands rise from the sea, ancient stories have long been woven into the fabric…
- Roman Mythology
- March 2, 2023
- 48 views
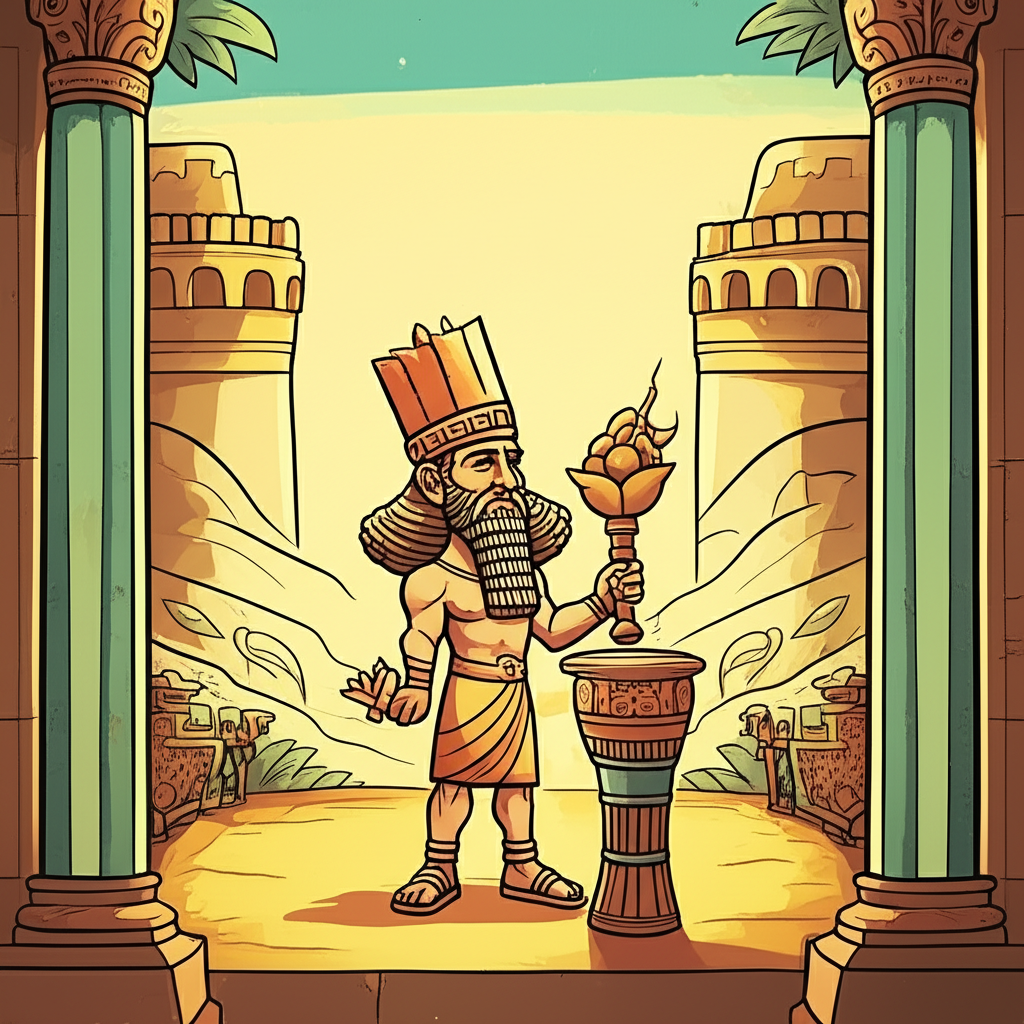
The Spectral Guardians of Avernus: A Roman Myth Retold
This article delves into a fascinating aspect of ancient Roman mythology: an imagined encounter with the Lares of Avernus. It is crucial to understand from the outset that this is…
- Slavic_Mythology
- March 2, 2023
- 55 views
Echoes of Lada: The Whispers of the Domovoi and the Sacredness of Pagan Groves
In the tapestry of ancient Slavic folklore, woven with the threads of nature, hearth, and the unseen world, lie tales of beings that were believed to inhabit the liminal spaces…